
Aion 2 Sanctuary Guide: Boss Mechanics and Recommended Team Composition
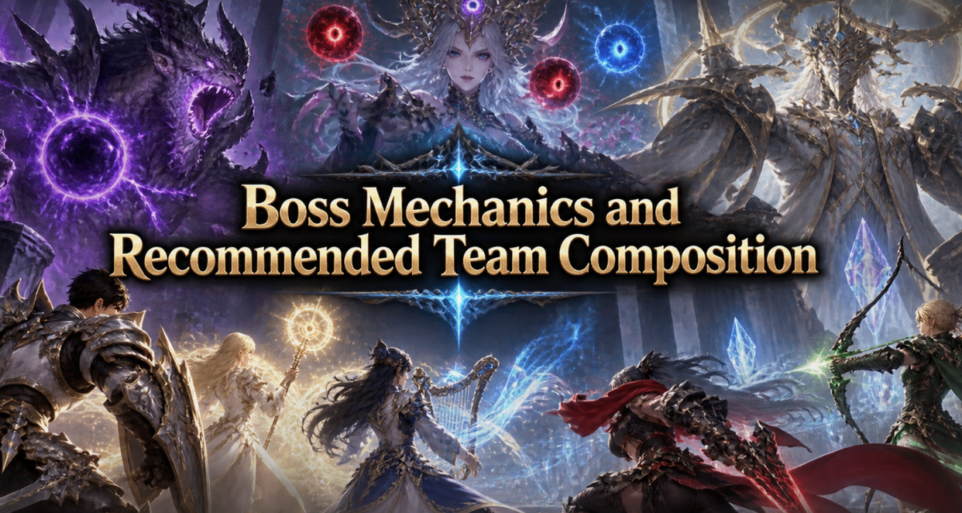
Sanctuary is one of the most demanding PvE activities in Aion 2. Unlike normal dungeons, success depends heavily on positioning, role assignments, and learning boss mechanics. A group with enough damage can still wipe repeatedly if players fail to handle transfers, safe zones, adds, or split mechanics correctly.
The current Sanctuary format uses 10 players divided into two five-player parties, so building each party around its own tank and healer is important. This also makes communication much easier when the raid needs to split for separate objectives.
Recommended Sanctuary Team Composition
A balanced setup should give both parties enough survivability while maintaining strong damage.
A reliable structure is:
Party 1
1 Templar
1 Cleric
1 Chanter
2 DPS
Party 2
1 Gladiator
1 Cleric
1 Chanter
2 DPS
You do not necessarily need to copy this exact setup for every group. The important rule is that each party should have a dependable aggro holder and a healer. This becomes especially important when the raid separates players for mechanics.
Assassin and Ranger are strong choices for the damage slots because they can maintain pressure while dealing with movement-heavy mechanics. Other DPS classes can also work when the players understand their assignments and can meet the required damage checks.
Before entering, make sure everyone has appropriate equipment and consumables. Spending Aion 2 Kinah on useful upgrades is much better than entering Sanctuary with unfinished gear and expecting the rest of the group to compensate.
Sanctuary Abyss Fusion Reactor
The raid begins with the Sanctuary Abyss Fusion Reactor. It is not simply a warm-up encounter. The reactor teaches players how to react to area attacks while dealing with incoming enemies.
The main danger comes from repeated arena-wide patterns, including donut-shaped and X-shaped attacks. Players should watch the ground indicators carefully and move into the correct safe areas rather than relying on last-second reactions.
The best approach is simple:
- Keep the group organized around a consistent position.
- Watch the attack indicators before committing to long casts.
- Clear incoming enemies without spreading unnecessarily.
- Move together when the arena pattern requires it.
- Save emergency defensive skills for mistakes or heavy damage windows.
Once the reactor is under control, the raid moves into the major boss encounters.
Rahu Mechanics
Rahu is the first major boss and places a strong emphasis on arena management.
One of the most important mechanics involves a purple transfer circle. A player receives the effect and must eventually transfer it to another player standing inside the circle.
Do not wait until the final second to decide who takes it. Establish an order before the fight.
A simple rotation can be:
Tank → melee DPS → ranged DPS → healer → repeat
The exact order is less important than having a clear plan.
If nobody takes the effect when the timer expires, a dangerous purple pool can appear on the ground. Too many pools quickly reduce the usable space and can eventually cause a wipe.
Safe Cone
Rahu also uses attacks that cover most of the arena while leaving a narrow safe area.
When the attack begins, identify the safe section immediately. If you are targeted by the linear attack, move the line away from the group before returning to safety.
Do not panic and run through other players. These mechanics are much easier when everyone understands where the safe zone will be before the attack finishes.
Wheel of Torment
During Wheel of Torment, players are repositioned and must react to successive arena attacks.
The key is to stay close to the correct safe area and avoid moving randomly. Players who run independently can easily create additional problems for the rest of the group.
Add Phase
Later in the fight, monster circles appear while a player is targeted by a linear attack.
The targeted player should deliberately aim the attack through the spawned enemies. This allows the mechanic to help clear the adds rather than simply becoming another source of damage.
If adds survive, additional hazards can appear and gradually consume the arena.
Ketu Mechanics
Ketu is generally more demanding because several mechanics require strong individual awareness and coordinated movement.
The fight includes spirit phases where the raid needs to split and clear targets efficiently. Both groups should have enough damage to handle their assigned side without leaving dangerous enemies alive.
This is one reason having a Cleric in each party is so valuable. Players can be separated for extended periods, and recovering from mistakes becomes much harder when one side lacks reliable healing.
During spirit phases, avoid standing in the white triangular attack patterns. Clear spirits before they reach dangerous positions and regroup once the phase is finished.
Red and Blue Orbs
Somemechanics require players to pay attention to the color and appearance of incoming orbs.
Red eye orbs require players to face them, while blue orbs require players to look away.
This sounds simple, but it becomes difficult when several mechanics happen simultaneously. Keep your camera under control and avoid unnecessary movement while waiting for the correct visual cue.
Orb Towers
Ketu can also introduce orb towers that require designated players to handle incoming orbs.
Assign these positions before starting the encounter. Do not assume someone will react automatically when the towers appear.
Having two designated players is generally safer than expecting one person to cover everything.
Crystal Survival Mechanic
One of the most important survival mechanics involves crystals.
Players need to use the crystals at the correct time to gain protection from major incoming damage. Each crystal has a specific purpose, so randomly destroying them can leave the group without protection when the next attack arrives.
The raid should agree on a crystal order before the mechanic begins. Healers should also prepare major recovery skills for the moments immediately after the protection phase ends.
Final Boss: Ludra
Ludra tests everything the group learned earlier: positioning, communication, movement, and cooldown management.
The fight contains several arena-wide attacks and movement mechanics, so players should avoid chasing damage when a mechanic is active.
Keep the boss positioned consistently, maintain enough space for movement, and make sure the healer can reach the party.
When a mechanic creates safe zones, move together instead of scattering across the arena. When the fight requires players to separate, return to the group as soon as the mechanic finishes.
The final boss becomes much easier once everyone understands that survival takes priority over maintaining perfect DPS uptime.
How to Build a Reliable Sanctuary Team
A good Sanctuary group should assign responsibilities before the first pull.
- Tank: Controls boss positioning, maintains threat, and handles major frontal attacks.
- Cleric: Keeps the party alive, prepares for heavy damage, and manages resurrection or emergency recovery.
- Chanter: Provides additional support and helps stabilize the party during difficult phases.
- DPS: Focuses on assigned targets, handles adds, and follows movement mechanics instead of chasing damage.
Communication is particularly important when the raid splits into two groups. Each party should know who is responsible for transfers, towers, crystals, adds, and emergency recovery.
Your Aion 2 Items should also be prepared before entering. Upgrade the equipment that directly improves your role instead of trying to maximize every stat at once. A properly geared support player who understands the mechanics can contribute more to a clear than an over-geared player who repeatedly dies to avoidable attacks.
Common Sanctuary Mistakes
Several mistakes cause unnecessary wipes:
- Entering without assigning mechanics.
- Having no clear transfer order for Rahu.
- Dropping dangerous pools in the center of the arena.
- Ignoring adds during mechanic phases.
- Using defensive cooldowns too early.
- Splitting the raid without giving each party enough healing.
- Breaking crystals without a planned rotation.
- Chasing DPS instead of moving into safe zones.
- Assuming the healer can recover every mistake.
Sanctuary rewards consistency more than reckless damage. Once every player understands their responsibility, the raid becomes much more predictable.
The fastest way to improve your Sanctuary clear rate is to learn the mechanics one phase at a time. Start with the reactor, establish a reliable Rahu transfer order, practice Ketu’s split mechanics, and then work on Ludra’s movement patterns.
A strong team does not need everyone to play perfectly. It needs everyone to understand where to stand, when to move, and what their specific job is. Once those fundamentals become automatic, Sanctuary becomes far more manageable and your group can focus on improving clear speed and rewards.
Comments are Closed